

after a few months hiatus, the weekly (or every-other-week) FAQ post is back up! if you have a question, just holler and I'll answer it in a new post.
One of the questions I get asked fairly frequently is how I shoot / edit indoors. My goal is always to produce an image that's true to life and retains the mood from when I originally shot it. It all comes back to light. How you see it. How it is. How you bridge the gap between the moment and the light, how you understand the balance of light and shadow, how you see the world and use the light around you. Photography is all about light, and when you start seeing, using, and understand it how it is, the images you're making will improve. It's pretty simple to take a good photo, but learning how to approach and understand light is one of the key parts to making a great photo. I love what Molly Flanagan said, "...And you don’t want to try to make the room brighter than it really is buy bumping your ISO way up to make it seem like it is a sunny room. Try to get a proper exposure that actually makes the room look the way it does in real life."That's what I try to do with my photography. Not only does it keep the integrity of the photos, but there's a depth that you find when you start to approach images as they are, not how you think they should be. I keep my editing fairly simple, which is why I love VSCO film. There's a beautiful sublety to it that gives the feel of film without being overdone. And no, it doesn't look exactly like film and you can't expect it too (if you want that, just start shooting film itself), but I'm able to edit my images how I've always wanted. Not to mention, most of my edits are one click and I'm done (I usually stick to 1-2 presets per shoot and just sync them after I cull the images, then go back for minor tweaks if needed). In the end, I want the photos I make to feel very organic and honest.
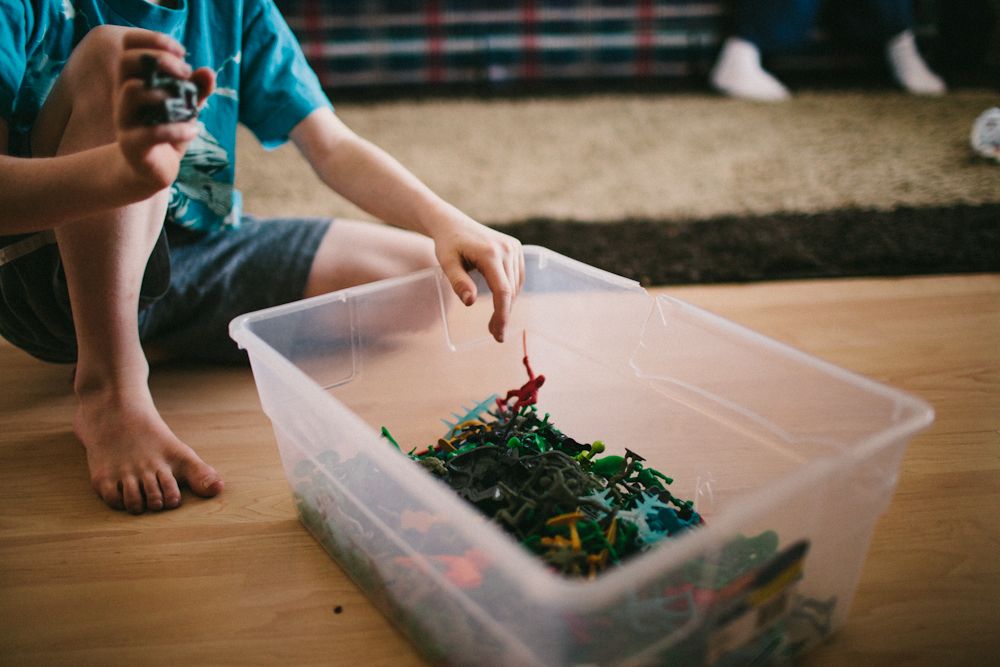
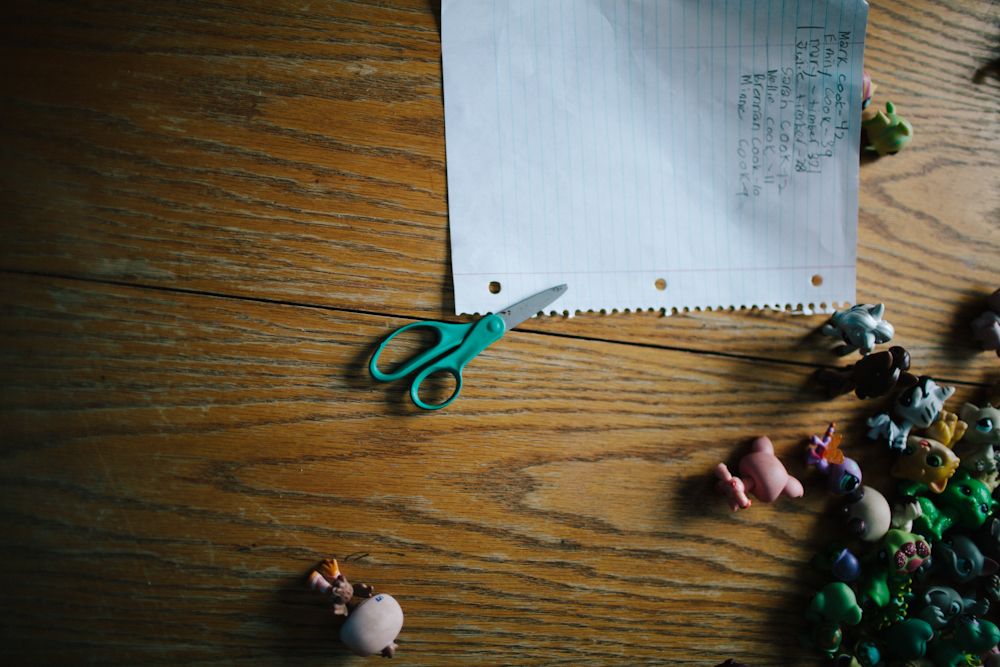
Here are a few before and afters to show you my process from taking an image to editing it. Hopefully this all makes sense, and if you have any questions, please just ask and I'll try to clarify more in the comments. :) All shot with a Canon 5d mk ii and 35mm f/1.4, and edited with presets from VSCO film pack 001 and 002. Scroll over to see the Before.
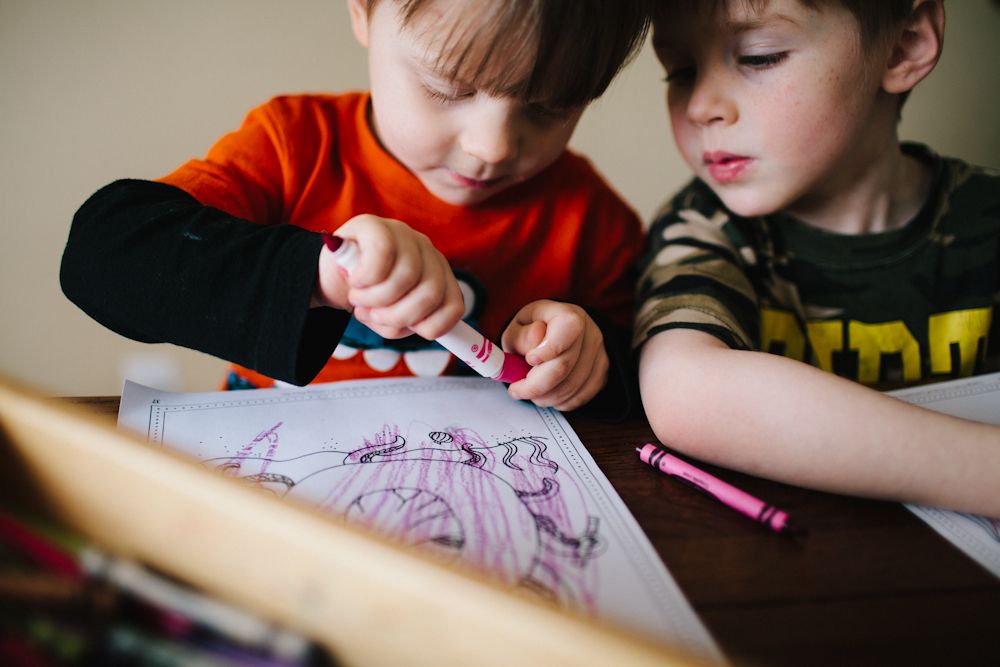
Settings : ISO 320 • f/1.8 • 1/400
KODAK PORTRA 160
fade +
temperature +250
exposure -0.25
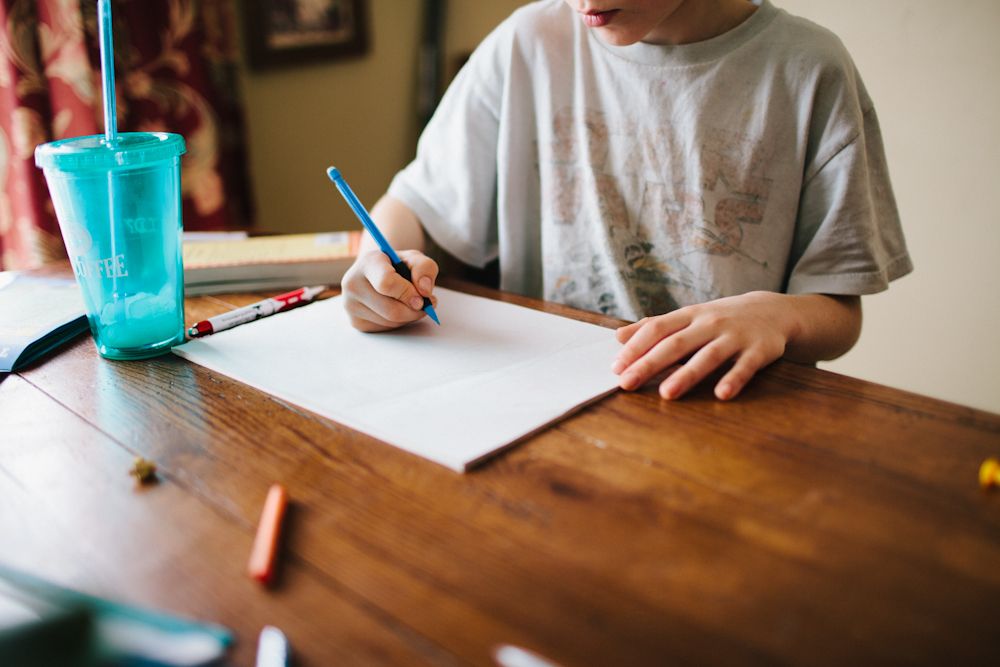
Settings : ISO 320 • f/1.8 • 1/400
KODAK PORTRA 160
fade +
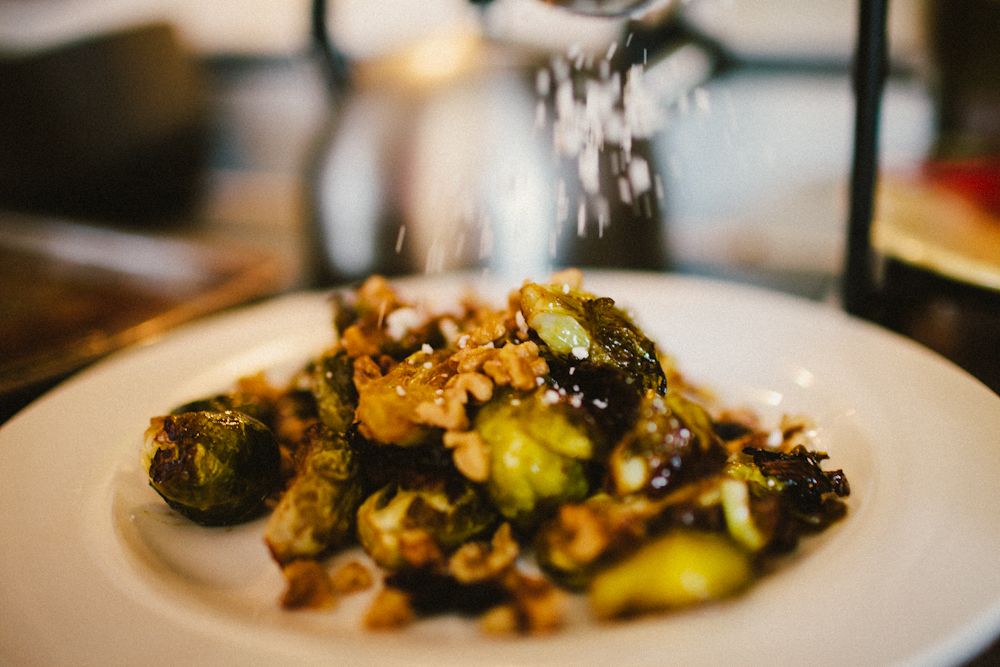
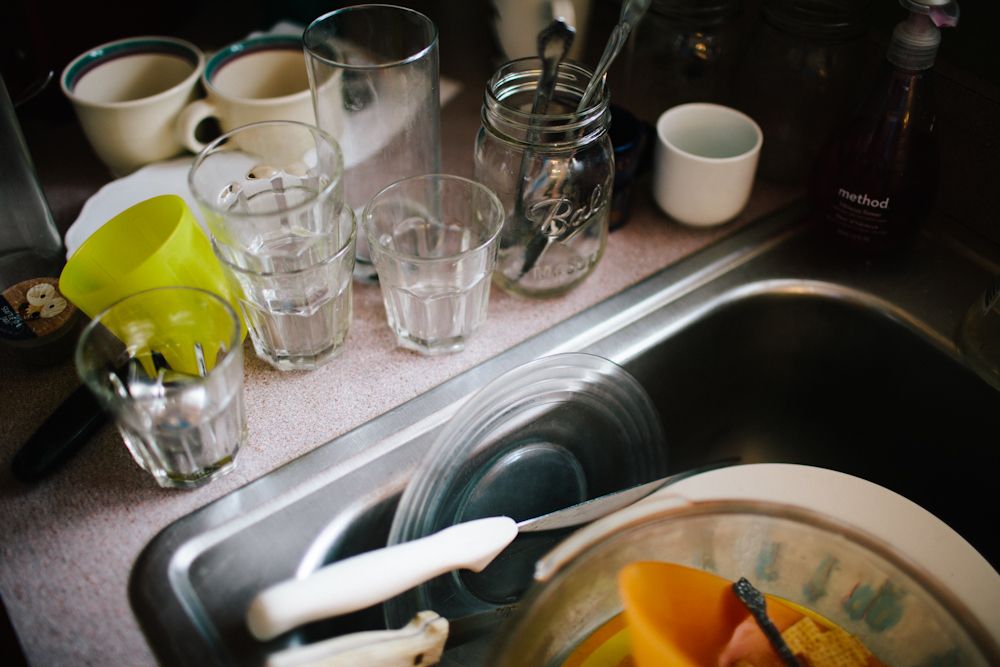
Settings : ISO 320 • f/1.8 • 1/160
KODAK PORTRA 400UC ++
fade +
contrast +
calibration red hue -10
red hue shift -15
grain +
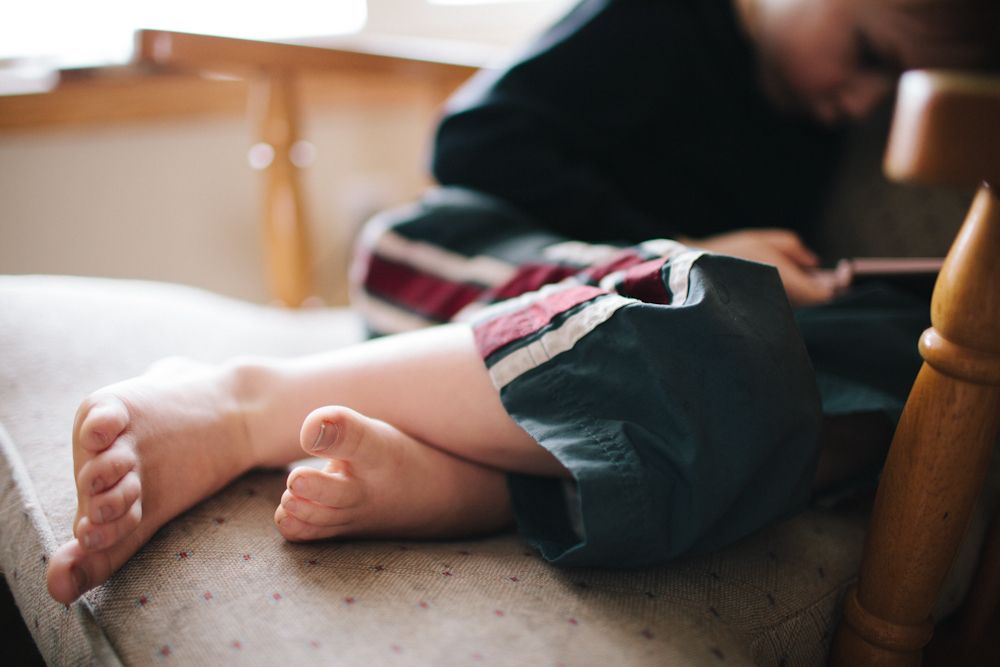
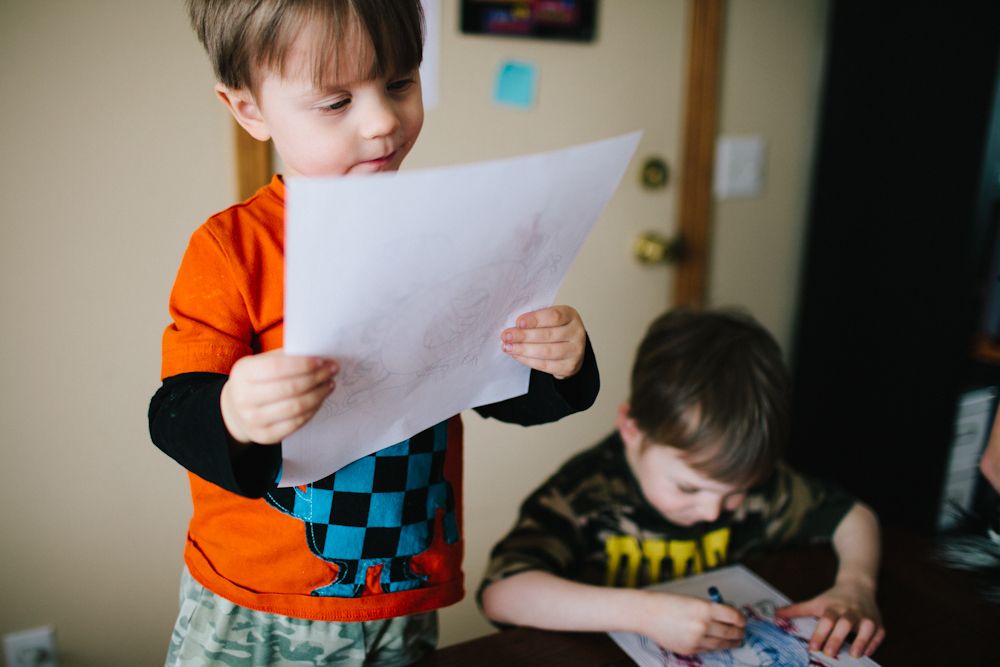
Settings : ISO 100 • f/1.4 • 1/250
KODAK PORTRA 160
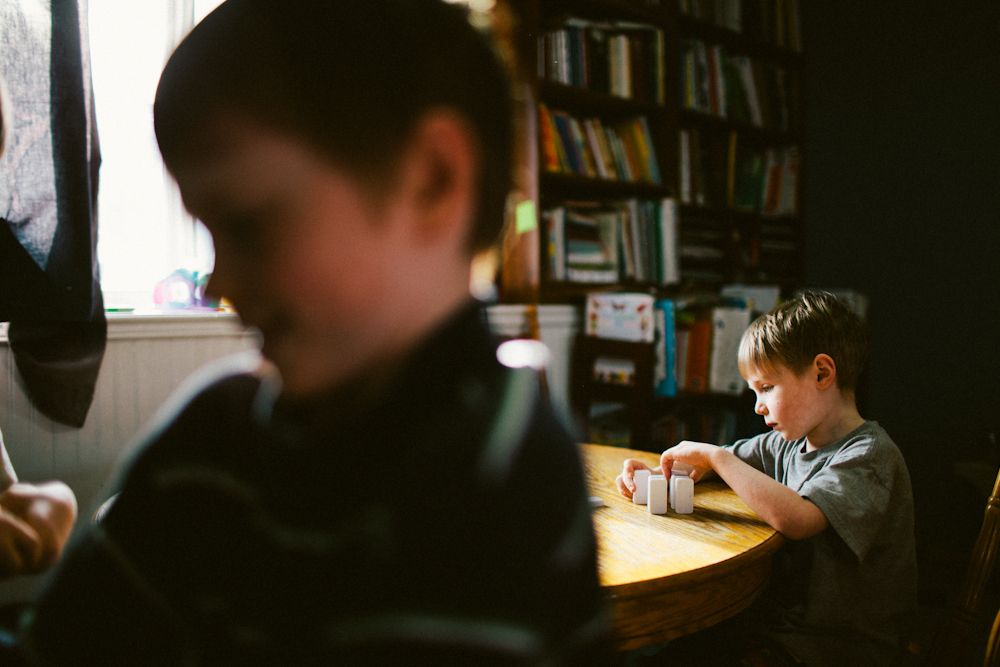
Settings : ISO 100 • f/1.4 • 1/80
KODAK PORTRA 160
contrast ++
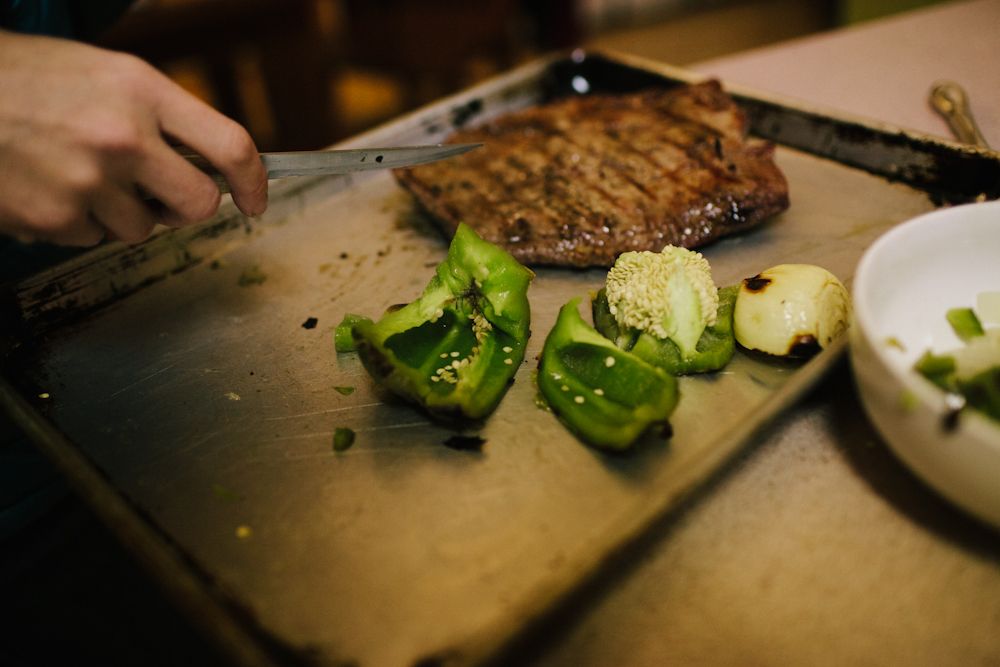
KODAK PORTRA 160
fade +
temperature +50
exposure +0.25

Settings : ISO 1250 • f/1.4 • 1/320
(tweaked) KODAK PORTRA 160
contrast --
Settings : ISO 200 • f/1.6 • 1/320
KODAK PORTRA 400UC
contrast +
tone Kodak 3
Settings : ISO 1250 • f/2.0 • 1/320
KODAK PORTRA 400UC ++
temperature +100
exposure +0.25
Settings : ISO 500 • f/1.4 • 1/640
(tweaked) KODAK PORTRA 400
Settings : ISO 100 • f/1.4 • 1/200
KODAK PORTRA 160

Settings : ISO 100 • f/1.4 • 1/250
KODAK PORTRA 160

No comments :
Post a Comment